
OneDrive Data Retention Part 2
June 10, 2021In part one of this article series, we went over how to prevent access to Second Stage Recycle bin in individual OneDrive accounts. This method does not scale particularly well, so a global retention policy would be a more time effective solution–unless you want to try scripting out the former method.
We find ourselves in the Compliance center again–cause we be complying. In Compliance Center go to Information Governance, then Retention Policies. This is the current URL for our retention policy, naturally, this location will probably change in the future.
https://compliance.microsoft.com/informationgovernance?viewid=retention
I’m thinking clicking “New Retention Policy” would be a bold first step in this venture. Let’s do that. Once you’ve taken your Baggins-esque first steps, your screen should look a little like this:
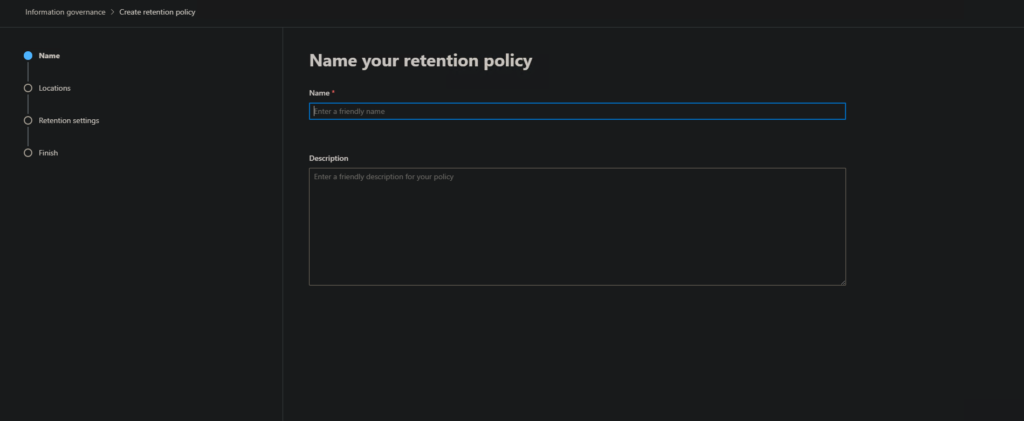
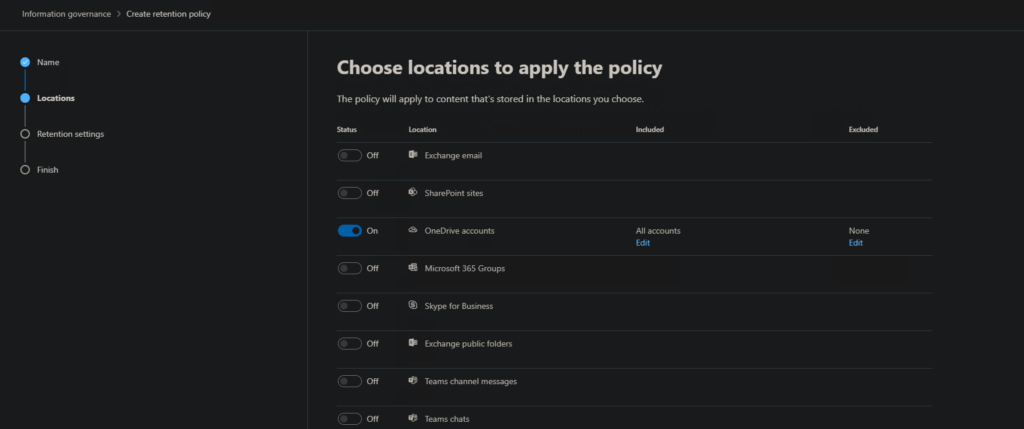
You can call this policy anything you like. I am going to name mine “Test OneDrive.” In the next area, we want to focus on OneDrive, so uncheck everything besides “OneDrive Accounts.” By default, it should include all accounts, but make sure your policy says that as well.
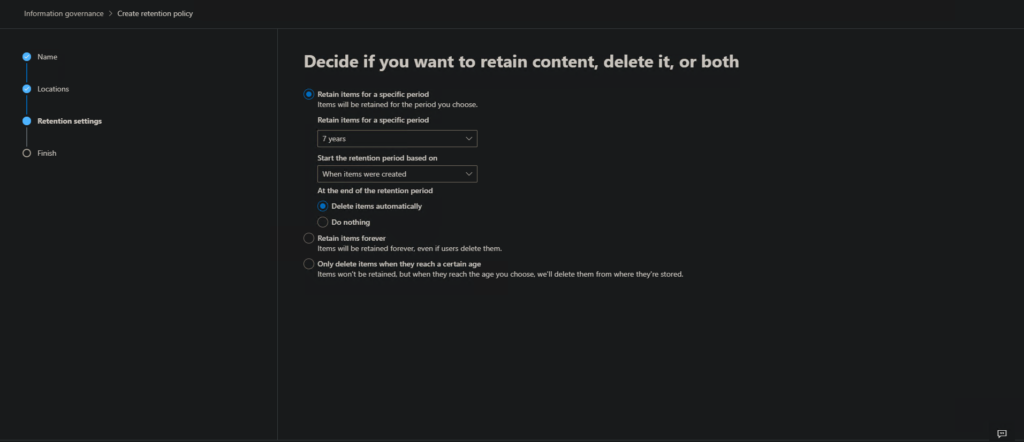
The next area is your retention length and deletion parameters. This is entirely dependent on your compliance framework and organizational needs. To be honest, the default isn’t bad. That’s seven years of Data Retention on individual user accounts. If you think you need more, check the “Do Nothing” and “Retain Items forever” radial buttons. However, that user will need to be licensed the entirety of that time. It’s not like taking a mailbox, converting it to shared, then removing the license.
Take one last look under the “Review and Finish” area and click submit. Now, in order to check if its working properly, go to a user’s (or your) OneDrive and delete an unnecessary file. Delete it from both the Recycle Bin and Second Stage Recycle Bin. Nothing should appear different so far. Now, in the previous article, I showed you how to get to Site Contents by modifying the URL. Go to the Site Contents section of the OneDrive you are testing. You should see a new List named “Preservation Hold Library.” Click the link and make sure the deleted file is there.
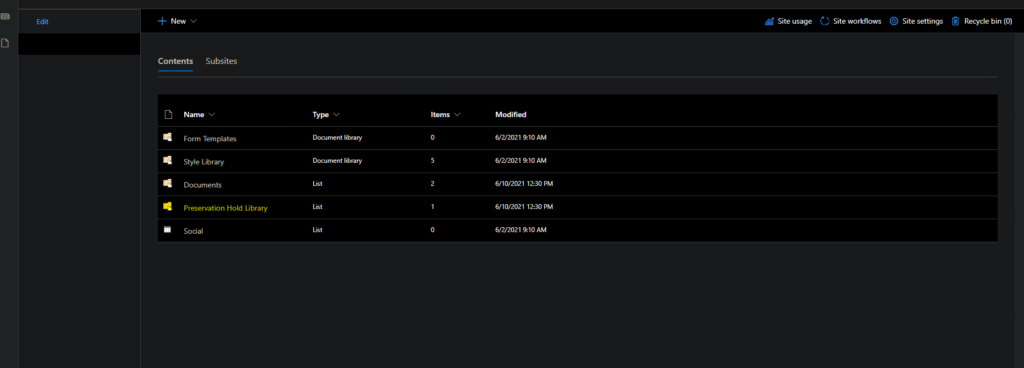
You should see the name of the file with an underscore and a string of alphanumeric characters. The copy of this deleted file was made upon the initial deletion–not when you deleted it from either Recycle Bin stage. Although this method does give your organization a sweeping retention policy, the drawback is accessing the deleted documents–you have to go into each persons individual OneDrive–and, it creates a copy with every first deletion. If user’s OneDrives are heavily used, this could fill them up faster than you anticipated. Otherwise, this would be the easiest of the two methods to create a reliable retention policy.
Hopefully, you found these articles helpful, and thanks for reading.