Azure Security Defaults
May 10, 2021With more and more organizations moving into the cloud space, it’s greatly improved employees ability to work from a variety of locations and still remain productive. That access is not limited solely to employees. With their ability to access company resources, it allows other non-desirable people to access those resources as well. The cloud, by default, is publicly routable.
In Azure (Office 365), if you know someone’s email address, you can try to log onto their account. If you know, or figure out their password, there are no further restrictions to gain access. This is where Conditional Access and Security Defaults come into play (Azure > Security > Named Locations is a good extra step too.)
If you have a free Azure subscription, Security Defaults comes included. Conditional Access can be acquired through Azure AD Premium P1 or P2 licensing. Each user needs to have a P1 or P2 license for Conditional Access. Enterprise Mobility and Security E3 or E5 will include P1 or P2 licensing, plus a host of other features. I am going to focus on Security Defaults in this article because it will really improve a company’s security posture without any additional costs.
Please Bear in mind, once Security Defaults it turned on, it will effect every user in your cloud-space. There can be no exceptions. That is the key difference between Security Defaults and Conditional Access.
When you turn Security Defaults on, it will apply this “template” to your organization. So please understand all the conditions it will apply before flipping the switch:
- It will require all users to register for Azure AD Multi-Factor Authentication.
- It will require administrators to perform multi-factor authentication.
- It will protect privileged activities like access to the Azure portal.
- It will requiring users to perform multi-factor authentication when necessary.
- It will block all legacy authentication protocols.
If you’ve never checked legacy authentications in Azure, this is a great time to check it out:
- https://aad.portal.azure.com
- Select Users from the list on the left
- Select Sign-Ins from the options under Activity
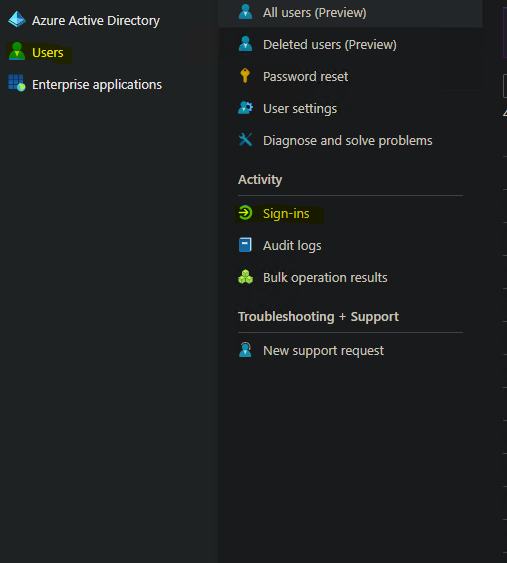
You’ll see quite a bit of information once it loads. The default columns are good, but we need to add one to see the authentication protocol. Select columns and add Client App.

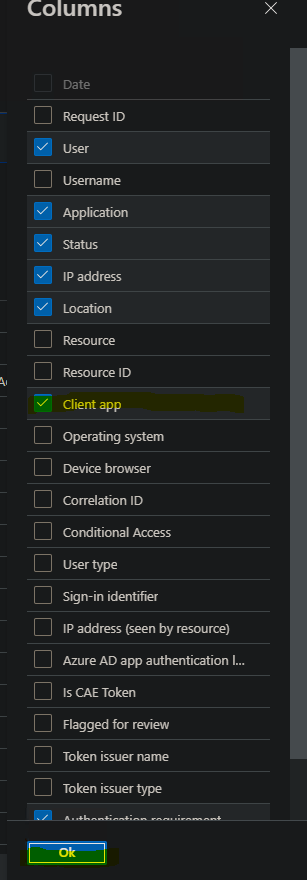
Click Ok. You should see the Client App column now. If it looks a little too busy, unselect one of the other categories you don’t see yourself needing.

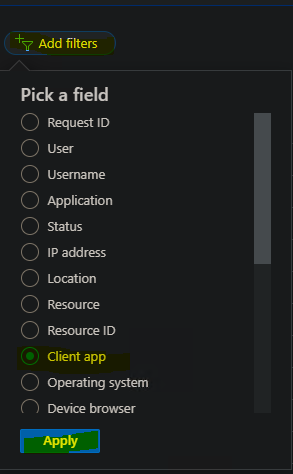
Now we need to filter by legacy protocol. Select Add filters, Client app, then hit Apply.
Once the button changes to “Client App: None Selected,” click it, and select every option under Legacy Authentication Clients. Make sure to scroll down–there are a lot of legacy options
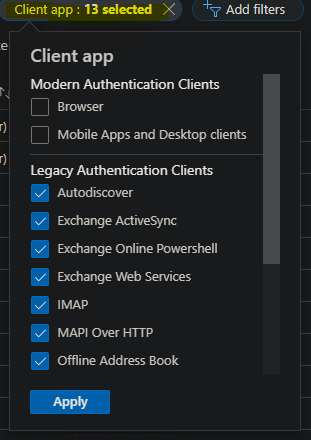
Now you can see all the insecure ways users have been authenticating to your environment! Once Security Defaults is turned on users will no longer be able to authenticate this way. I would get them all setup on the current Outlook client before turning this on, that way they will not notice this change, and you can focus on MFA rollout.
Now, to turn on Security Defaults is straight-forward. Select Azure Active Directory from the list on the left now, then properties.
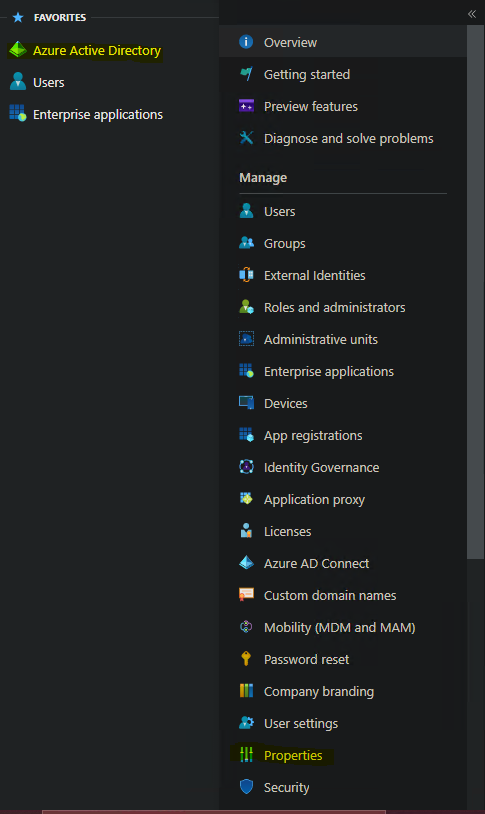
At the bottom of the page, there will be a link saying “Manage Security Defaults.” Select that to bring up the toggle option. It will appear on the right side of the page.

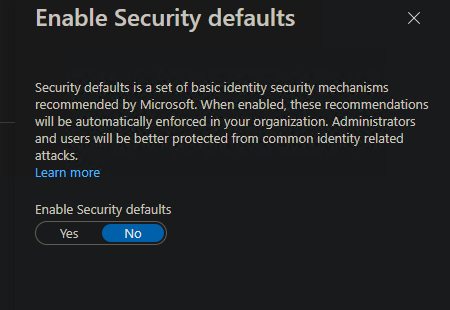
Two final notes. You cannot have Security Defaults and Conditional Access turned on at the same time. Security Defaults could be a nice placeholder if you think you may wants Conditional Access in the future. Also, with Security Defaults, your MFA authenticator options are limited. You can only use the Microsoft Authenticator App. I’ve personally used the App, and its a great way incorporate MFA in your environment.
Thanks for reading and good luck with the rollout.